How to Build a Home From Scratch: A Step‑by‑Step Guide
Instead of buying a home, some people may decide to build a home from scratch. The best part is that you can create a home that reflects who you are and where you are at in life at that moment.
A custom home can really benefit you long-term. However, the key is to prepare. When you have a clear overview of what has to be done, patience, and a financial plan, it can make things go through a lot smoother.
If you are considering building a home, let this guide be a part of your journey. You’ll be able to become inspired to be fully ready for move-in day. Also, you have a better understanding of what to expect, what you need to prepare for, and what pitfalls to avoid.
1. Define your vision and budget.
Have a clear understanding of how you envision your space. But find what works within your budget.
Clarify your must‑haves vs. nice‑to‑haves
Create a list of your must-haves and nice-to-haves. It will allow you to have a clear understanding of your non-negotiables. For example, the number of bedrooms and bathrooms, a two-car garage, a dishwasher, etc…
Whereas your nice-to-have may look like
· Luxury soaking tub
· Built-in shelves
· Porch
Knowing this will allow you to see what works within your means.
Establish a realistic budget (including hidden costs).
You’ll want to make sure you are able to:
· Purchase your land
· Site prep
· Utilities needed
· Permits
· Inspections
· Architectural fees
· Engineering fees
· Driveways
· Landscape
· Contingency funds (10 to 15%)
Figure out if you are able to pay with cash or the type of lender you need. It will allow you to set a realistic budget.
Consider long‑term needs and lifestyle
How do you see this home in the next couple of years?
Do you see yourself expanding your family?
Do you plan on working from home?
Will you need a storage area?
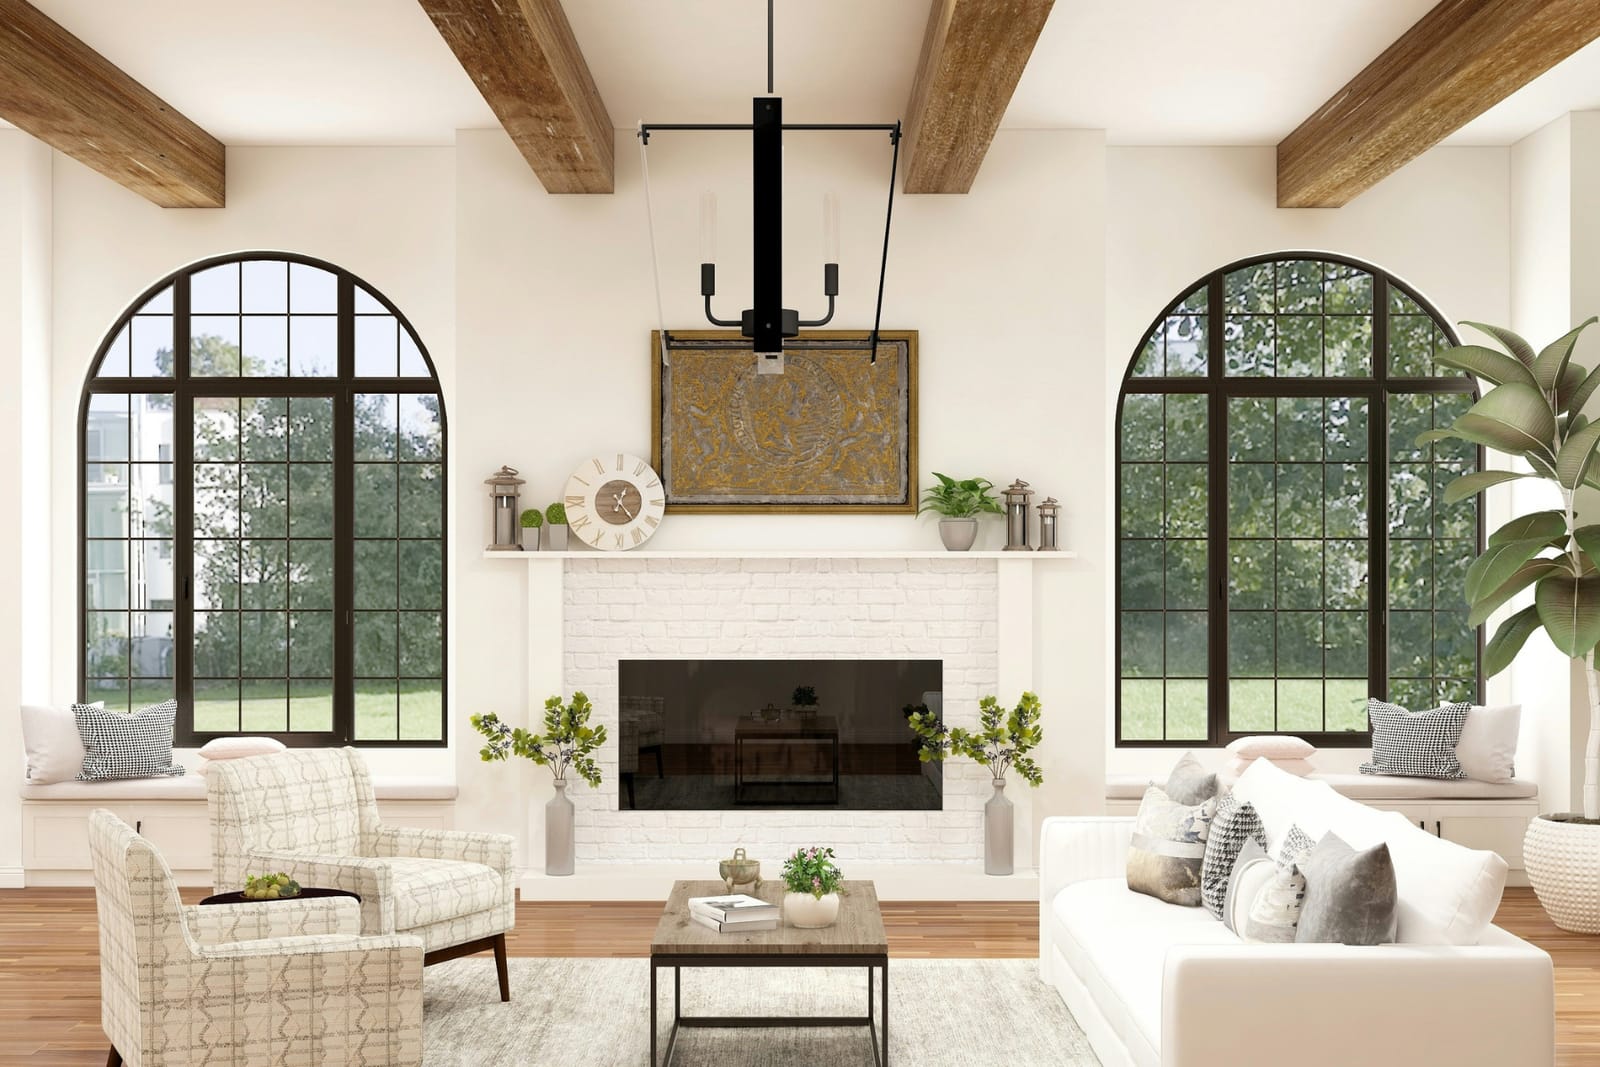
At this stage, you should gather your inspo.
Use Pinterest, Houzz, magazines, color palette samples from Home Depot, and photos of interior spaces, kitchens, living rooms, bathrooms, and exteriors. Anything that captures your eye.
Based on the land you purchase, what’s the square footage you want your land?
Is there a particular style you are going for? Farmhouse, Mediterranean, Traditional, etc.
2. Choose the right location.
Location is crucial. You’ll want to make sure you select the right area.
How do you see yourself daily?
The key factors you’ll want to evaluate are:
· The Neighborhood
· Commute to essential places
· The land size, orientation, terrain
· Future development plans at that location
Rural vs. suburban vs. urban land
Rural areas tend to have a lot more privacy, larger lots, and a quieter lifestyle. Although this is evident, this type of area can mean longer commutes to where you need to go, fewer services, limited internet, etc.
Suburban areas can give you convenience, and you’ll have enough space and easier access to utilities. The downside is that there are smaller lots, more neighbors, stricter HOA rules, and higher prices for land.
Urban areas can give easy access to the local dining, shorter commutes, and even allow you to walk to the place you’ll want to go. The cons are limited parking, higher costs for land, small lots, etc.
3. Purchase the land.
After you have narrowed down an area, the next thing you’ll want to do is choose a space.
Check out my post on How to Buy Land. It will give you a rundown of what to do.
4. Assemble your home building team.
Find a team. The key is finding someone that can accommodate your needs.
Some professionals you may want to hire are:
· An architect or home designer
· Contractor
· Structural engineer (if necessary)
Make sure you:
· Check credentials
· Licenses
· Reviews
· References
· Number of homes completed.
· Verify that they have experience with the style of home you want and they work within your budget range.
Here are some questions you want to ask before signing.
How long will this build take?
How do you handle change orders and cost overruns?
Who is my main contact for the duration of building my home?
How will I receive updates on the status of my home?
What warranties do you provide on materials and workmanship?
Make sure you get everything in writing. The whole nine yards of scope of work, timelines, payment schedules, allowances, etc.
5. Design your home plans.
This is the time you want to see your ideas visually. (Drawings or 3D plans of each room can really make all the difference.)
Focus on:
Floor plans: Room sizes, circulation, etc.
Elevation: The overall exterior look—windows, type of material used, and rooflines.
Flow: How do you plan to get from one room to the next?
Give yourself a visual walkthrough of the entire scope.
Prioritize energy efficiency and sustainability.
Consider:
· An efficient HVAC system (choose something that can save on future costs)
· Orientation for natural light coming into your space
· High-performance windows and insulation
The choices you make can save you from future expenses.
Future-proof your design.
Flex spaces: Do you want a room that you can convert into something else?
Aging over time: How long will things last before they require an update?
Resale: The choices you make now, will future potential buyers like it later?
Custom vs. semi‑custom vs. stock plans
Custom plans: Get everything designed from scratch. Flexible but can get expensive.
Semi-custom: An existing plan that can be modified. A good balance of cost-effectiveness and a touch of personalization.
Stock plans: Already have designs in place you can purchase. This is the least expensive, but depending on your local codes, you may have to adjust.
6. Secure financing and permits
When you select a plan and have it placed, it’s time to make it official.
What are your financing options?
Traditional mortgage: Used after the construction is complete or to buy an already built home.
You’ll probably need a construction-to-permanent loan.
Construction loans: A short-term loan for building in stages. After the home is complete, you can convert to a traditional mortgage or refinance one.
Talk to lenders who handle construction loans. It can make things go a lot smoother with someone who can educate you on the topic.
Permits and approvals
Here are some things you may need permits for:
· Electrical
· Plumbing
· Mechanical (HVAC)
· Septic
· Building
The builder or architect typically handles the permit applications. But having a general idea of how long approvals take in your area can be a game changer.
Permits allow you to protect yourself if you legally sell or refinance, help avoid fines, ensure the safety of your home, and ensure that things are up to code.
7. Prepare the land.
Site preparation is key before you even start construction. A few things that take place in this step are:
· Cleaning up debris
· Grading and leveling the land to make sure things are stable
· Installation of temporary utilities so the entire site isn’t torn up.
Cost factors and common delays
Things that are taken into consideration are:
· The slopes and soil conditions
· Distance to utility connections
· Tree size
Common delays:
· Weather
· Permits not approved
· Unexpected site conditions
8. Begin construction
Finally, the moment you’ve been waiting for. I know you are excited, but keep in mind that this moves in phases.
Foundation
Excavation-Crawlspace, digging for footing, or basement
Pouring concrete—Foundation walls, footings, and slabs are formed and poured.
Waterproofing—this is essential before adding a drainage system.
A solid, secure foundation is critical.
Framing
Think of this phase as the stability to keep things going. For instance, the roof trusses, stud walls, door openings, windows, etc.
This is where you’ll be able to see everything flow together.
Mechanical systems
HVAC: Vents, mechanical equipment locations, and ductwork.
Electrical: Switches, wiring outlets, lighting, and other major appliances.
Plumbing: drain lines for the walls, ceilings, and floors.
These things are put into place before the walls are closed up.
Insulation and drywall
Interior wall installation: Drywall time. See the rooms come into place.
Energy efficiency considerations: You may choose between spray foam, fiberglass batts, blown-in cellulose, or a combination of things.
Interior finishes
Cabinets: Cabinetry, countertops
Fixtures: Lighting, hardware, plumbing fixtures, and appliances
Flooring: Wood, tile, carpet, vinyl
Paint: Ceilings, walls, and trim
You finally get to see those touches of your style come to life.
Exterior finishes
Roofing: Metal, tile, or a particular type of material installed
Siding: Stucco, wood, and fiber cement are added.
Landscaping: Topsoil, basic planting, driveway, walkway, final grading, or adding a patio
9. Conduct inspections throughout the build.
Inspections are checkpoints that everything is good to go.
Inspections happen in these typical areas:
· Framing
· Footing and foundation
· Electrical, plumbing, and mechanical rough-ins
· Insulation
· Final building inspection
Know when these inspections take place. Mark it down on your calendar.
Follow up on these inspections to have that peace of mind that things are up to code, be able to catch things early on, and have that documentation.
Handling issues or corrections
Let’s say there is an issue in which something doesn’t pass inspection. Remain calm. Ask for clarity on how the issue can be fixed and check back when the issue is corrected.
10. Final walkthrough and move‑in
I know when you get to see your home, you’ll be ready to move right in. Before you do, make sure you take your time and do a complete walkthrough. Inspect the details of each room.
The last thing you want is nails sticking out, something chipped, etc. Give yourself a chance to test out how things open and close. Test out the appliances. Make sure everything comes together.
Don’t be afraid to write down what the contractor needs to touch up or fix. Give them the list and agree on a time frame it should be done.
Warranty information and final documents
Before you pay the contractor off, make sure:
· Review the builder’s warranty details
· Have copies of permits, plans, or changes in orders during the process
· Final inspection approvals
· Manufacturer warranties for major systems and appliances
Having this documentation can help you get insurance, future expenses where necessary, and know the resale value.
Move-in day is a huge milestone. Make sure you give yourself time to label boxes, protect floors and walls during your move, and schedule utilities.
Overview of Building Your Home from Scratch
You don’t have to have every décor detail set in stone. The main objective was to build your home from scratch. I know it can seem like a long process, but when you have the right professionals alongside you through this journey, it can make the process less overwhelming.
Also, set realistic expectations so that the outcome can be a rewarding one.
Prepare and clearly communicate your needs. Use these tips as a starter guide to know what to expect going into building your home from scratch.